Back to showing more pictures from Nahanni Park. I already showed pictures from the Cirque of the Unclimbables, but the park area is vast. I only took a day trip into the park, and would love to go back for a longer trip.
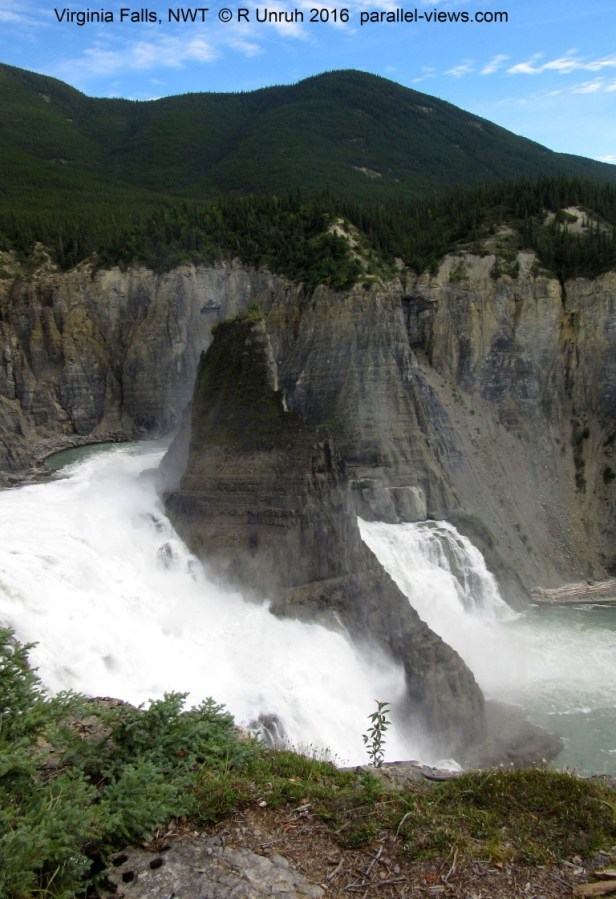
Virginia Falls was my first stop in the park(so these photos are actually chronologically before the Cirque of the Unclimables). The South Nahanni River above the falls is one of the few park areas that allows for float planes to land. It is the major point for rafts and canoe trips down the river, and it takes about a week by water to reach civilization from this point (although longer trips can be arranged, by landing much further up the river). The falls themselves are spectacular; less water flows over them than Niagara Falls, but they are much larger, and much less crowded.
The water in Virginia Falls drops over 90 metres. A large rock pillar rises above the middle of the falls, separating the water channels. Because the planes land above the falls, and the campground is near these docks, any person traveling down the river by raft or boat has to be prepared for a portage along a steep, narrow trail to the base of the falls. As I only had a couple hours before the plane left, I never did the trail to the base. Next time I go…
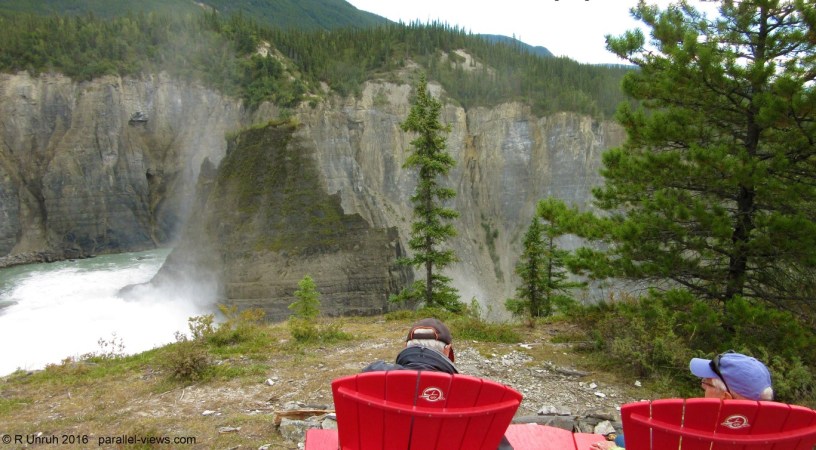
Most of the photos I took are from one of two viewpoints. The first is upriver from the falls, near the campground and ranger station. It was cloudy when I arrived, but cleared up before I left.
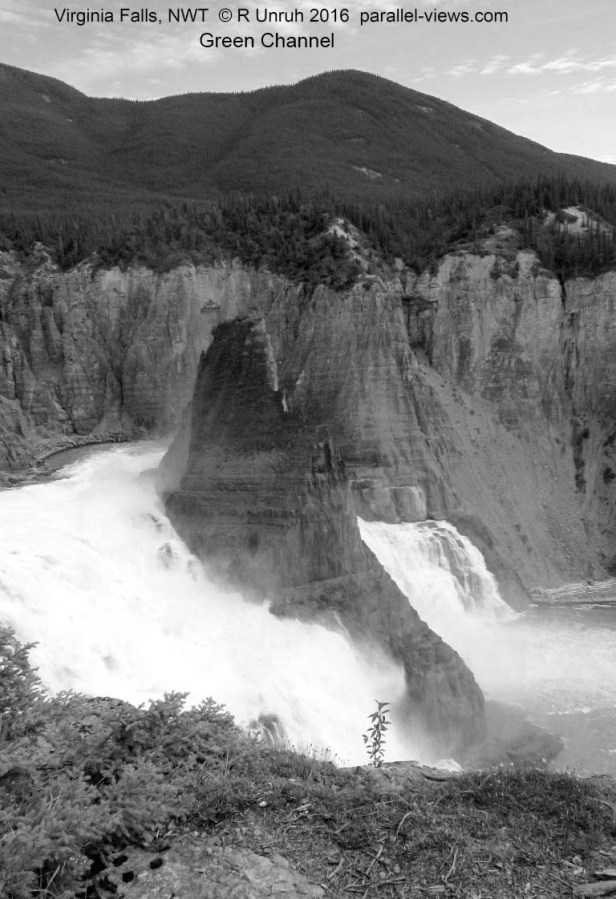
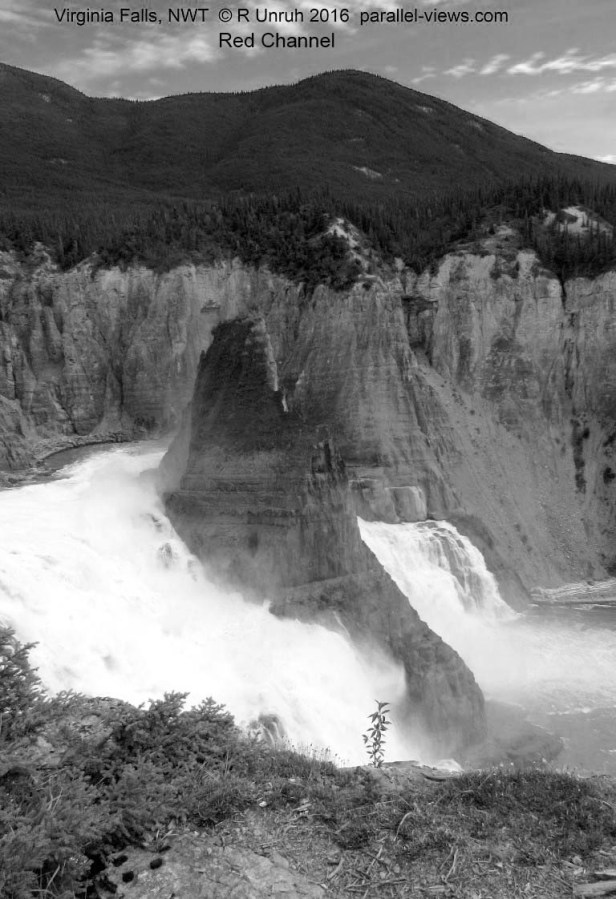
Note the two red chairs to the right of the falls; they’re the Parks Canada viewpoint chairs. You can find similar chairs in most of Canada’s National Parks. As always, I’ll break the visible spectrum photo above into the blue, green, and red channels.


The falls are several hundred kilometres away from any towns, and there were no fires nearby at the time, but the blue channel still shows some haze in the distant hills to the right. The Parks Canada chairs are only noticeable in the green channel; the lighter tree colour in the red channel masks the red chairs, and the darker trees in the blue channel do the same. In green, however, the chairs look black compared to the foliage.
I also took a photo here with no filters, aka a full spectrum photo.  The infrared added to the red makes the photo look like autumn; all the trees and plants are brown. The water is a brighter turquoise colour here- It might be reflecting the sky better(which is dark in infrared), or the tree colour, or both.
As opposed to the full spectrum photo or the visible spectrum photo, a photo taken with the Zomei 760 nm filter is entirely in the near infrared range.
There’s still a hint of colour in the sky, but the photo is mostly monochrome. The clear water above the falls is hidden by the dark; it blends in with the rock.
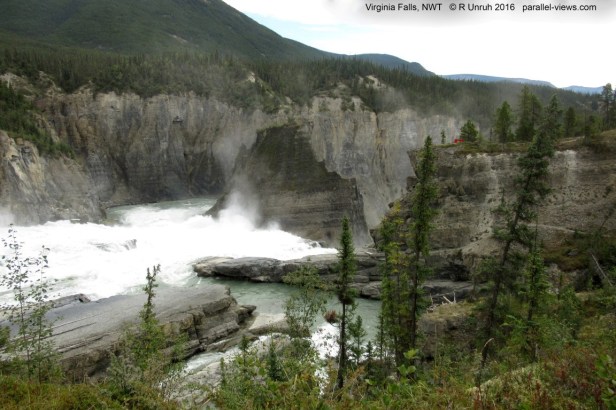
My second viewpoint was further downriver, even with the falls themselves.
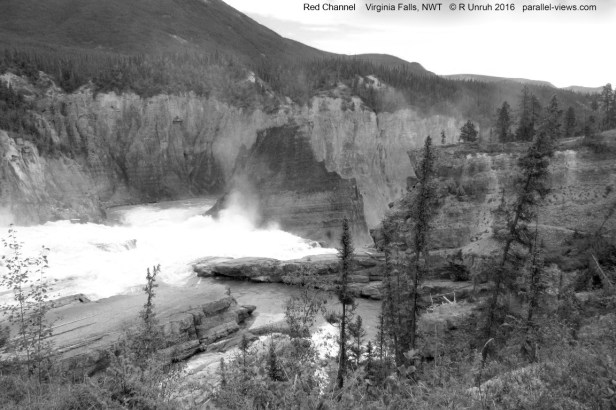
The sky was clearing up, but the sun reflecting off the whitewater made the trees seem darker. As before, here are the blue, green, and red channels.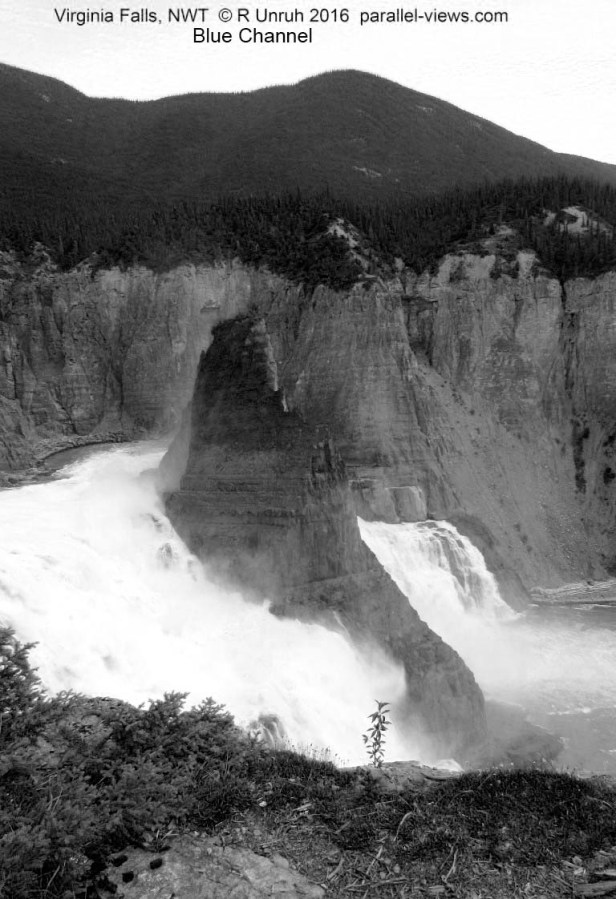
I think this time, the green is the best for detail. The trees are easy to distinguish from one another, and the sky is visible. The sky is too bright in the blue channel, looking white, and the trees are darker in both the blue and red channels.
The UG11 dual band filter blocks visible light, allowing infrared and ultraviolet light to pass through.
The photo here is more surreal, with a violet sky and pale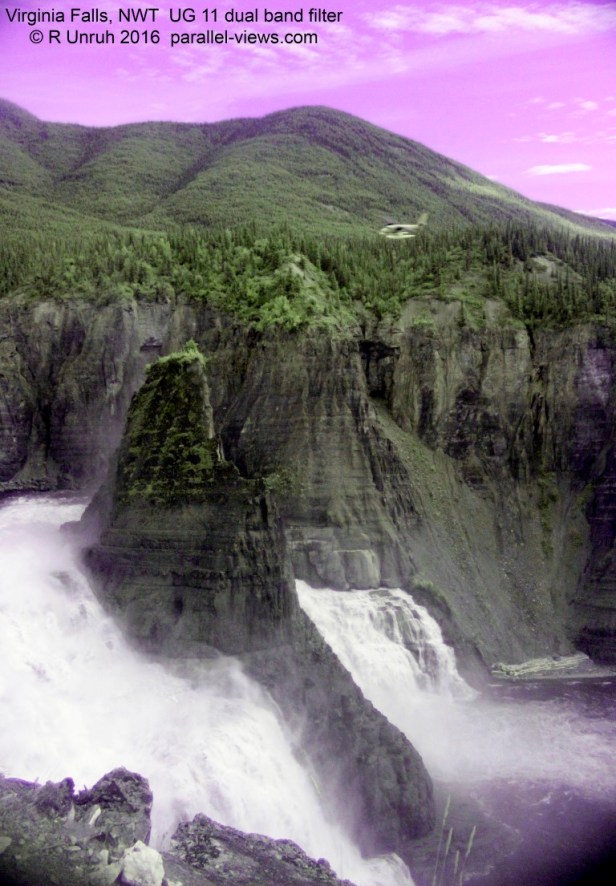 green trees. There is a blur above the falls- that is a float plane coming in for a landing. At the time, I didn’t notice it; the roar of the falls drowned out all other noise.
Now, into the (very) near infrared. The Zomei 680 nm filter allows some red light through along with the infrared, and you can look through it with the naked eye. It allows for the camera to detect some range of colour, giving me my most colourful near-infrared photos. The Zomei 950 nm infrared filter, on the other hand, only allows for monochrome photos.
 Finally, to look at the falls in the thermal infrared range, I used my Seek Reveal camera. These photos are, as mentioned in other posts, much lower in resolution. However, they will still give an idea of how the falls looks.
This is the photo on the ‘Iron’ filter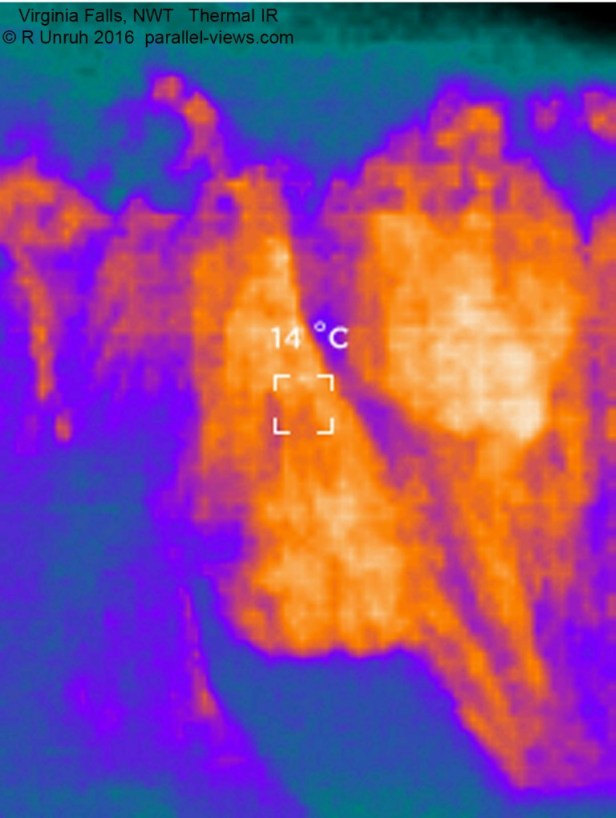 . I don’t usually use colour filters, as the monochrome filters(seen below) give more detail. This photo is slightly off centre to the falls- the target in the middle isn’t centered on the rock outcrop, but rather the cliff on the right side.
I took two photos using the ‘white’ filter; as the camera automatically adjusts the contrast, the photos have slight differences. 
 The first photo is, like the thermal colour photo, centered to the right of the outcrop. However, it is now much easier to see the rock formation to the left. The second is centered on the formation itself.
So there; you just looked at 16 photos of the same waterfall, 17 if you include the title photo. There’s more to come next week(the 3D pictures) but I think that’s enough for this post.
The thermal photos were taken with a Seek Reveal thermal camera; the other photos were taken with a modified Canon Rebel T3i camera.
