Spring is here and the flowers are out. I’ve been exparimenting mroe with UV photography.
One of the thing I’ve been looking forwards to the spring was trying out my new lens[warning- the next two paragraphs get a little technical- skip by them if you’re just here for the flowers]. I usually take photos with my default 18-55 mm lens that came with my camera, and in most cases it is versatile enough for my needs. However, now that I’m getting more into ultraviolet photography, I’ve run into a problem. I’ve mentioned before that the camera I use is not sensitive to ultraviolet light- it takes several seconds to get a good UV photo. The lens doesn’t help with this; and changing the lens could reduce the time needed. My new lens gives an F-stop of 1.8. Essentially, the lower the F-stop number is, the wider the lens shutter opens, and the more light enters the camera. Of course, there are trade offs. The lower the F-stop number, the smaller the depth of field. Objects nearer or farther away from the focal distance of the camera are much blurrier. As well, this specific lens is fixed at 50mm; it does not zoom in or out.
But back to the positives. The end result is that, with all the other settings being the same, my new lens can take photos about with a shutter speed at least 4 times faster than with my old lens(with my old lens zoomed out to 18mm, the maximum amount), or 10 times faster, if zoomed in as far as possible(55 mm). Anecdotally, it actually seems slightly faster than that when taking UV photos; perhaps the new lens doesn’t block as much UV light as the old one. In all, I think I’ll stick with my usual lens for most trips, as it is more versatile, but I’ll definitely take this one along if I want to take UV photos.
But on to the Forget-me-not flowers. I assume that is what they are- they were growing when my parents bought their home, and haven’t gone anywhere in the years since. They show up in late spring every year, and ad some co lour to the yard. They fight with the raspberries for control over the garden every year.
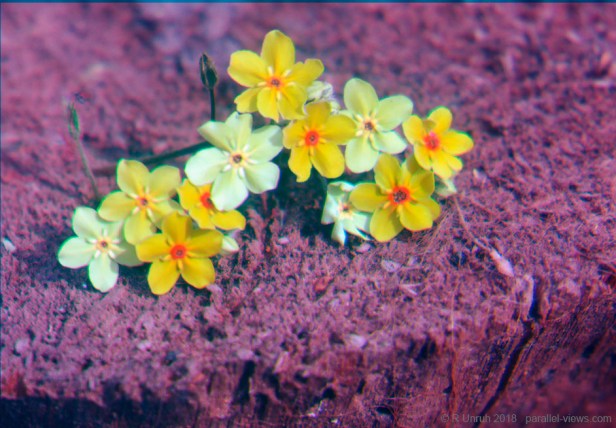
In the visible spectrum, the flowers are pale blue, with a yellow center: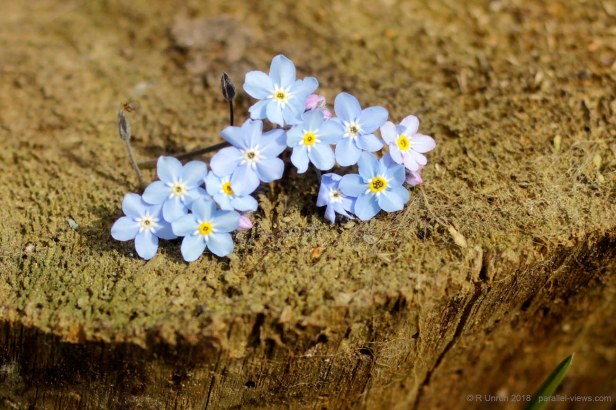
The pale blue colour is fairly uniform- the flower on the right is a slightly different hue, and the buds that are almost ready to bloom are a pale purple or violet.
The flowers all look fairly similar to one another when broken into the red, green, and blue channels.

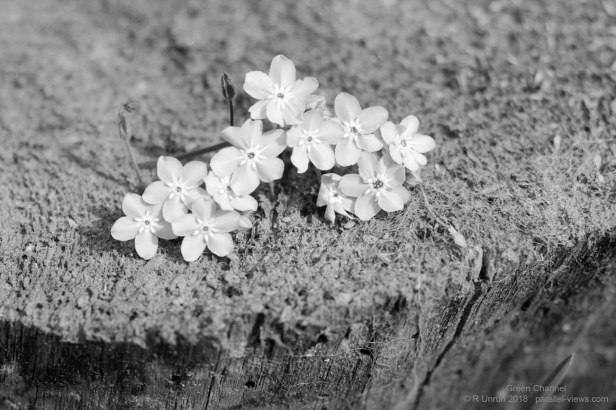
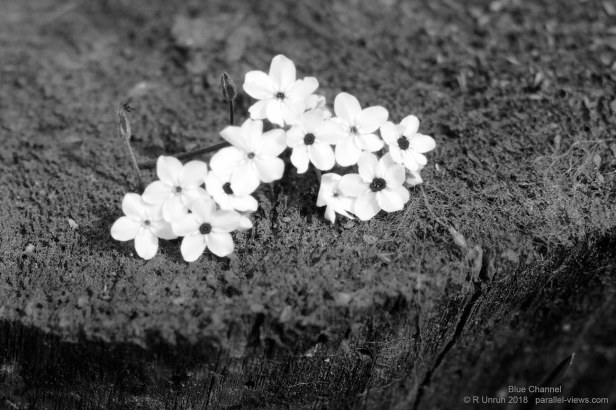
The difference in the right flower is most noticeable in the red channel. It has a lighter shade than the other flowers, which means it is reflecting more red light. As the wavelengths shorten to the blue channel, the flowers look more similar. The center of the flower is extremely dark in the blue channel; it seems that the yellow center doesn’t have much of a signature in shorter wavelengths.
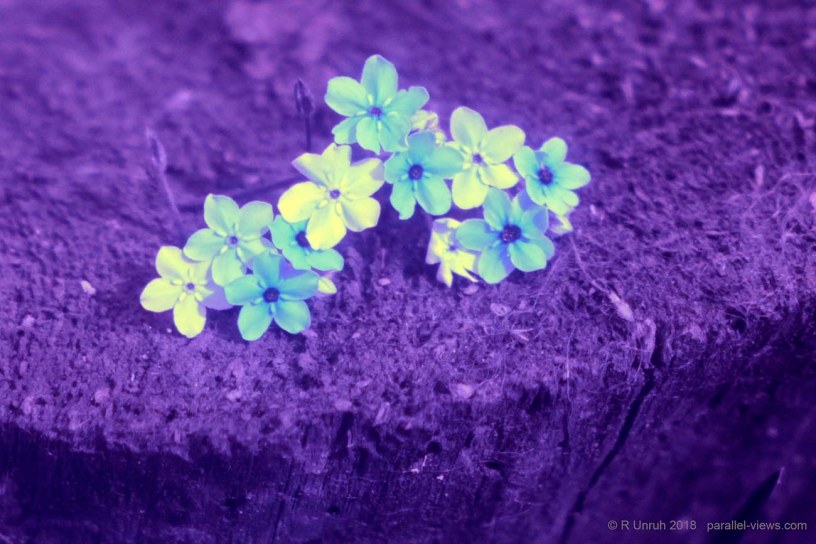
Starting with my short pass filter(ultraviolet, violet, and some blue light passes through), the flowers look less uniform.

The white balance almost never works with this filter, as I’ve mentioned before. Still, the results are easily seen. There seems to be a variety of shades for the flowers, a difference that is not visible to the naked eye. The right flower more closely matches the colour of the darker flowers, while many flowers now appear much brighter or darker than they do in the visible spectrum.
Combining my Schott UG11 and BG40 filters takes me out of the visible spectrum entirely.

This photo is mostly in the Ultraviolet range, with perhaps some infrared leakage. The different colours of the flowers is clear now- they are wildly different in this range.
Getting back to my new lens for a moment, I now have an opportunity now to try something I’ve been thinking about for a while. I usually take my ultraviolet photos with two filters; the above mentioned Schott UG11 and BG40 filters stacked together. My other UV capable filter, the short pass filter I assembled(don’t ask me who made the filter- I bought it used on Ebay), is usually used on its own.If I use it with the UG11 filter to block infrared light instead of using the BG40, it is successful, but the shutter speed drops dramatically(on a sunny day, It could take over 5 seconds for a photo, even with a large aperture and high ISO). With the new lens, I can now take those photos in under a second… in fact, I can triple-stack the short Pass, UG11, AND the BG40 filters to make sure all the infrared light is blocked.
So, here is my ‘triple-stacked’ UV photo.

It’s fairly similar(in addition to a much longer exposure time)- the colour balance is set slightly differently than with the UG11+BG40 filters alone, as there was a fain red hue across the entire photo. It was faint, though, so I think both white balances are similar.The flowers are a different colour with the triple stacked filters, but it’s all false colour anyways, and the dark flowers still appear much darker than the light flowers. What is a little harder to see is that the flowers are all darker. If the two are converted to greyscale, it is more apparent.

I would assume that the extra filter is successfully removing the infrared leakage, as most foliage is extremely bright in infrared. The photos are similar enough that I feel comfortable sticking with the BG40+UG11 filters on windy days, or when there is too much movement for the triple stacked filter. On the other hand, triple stacking is now feasible, at least with a tripod, with a shutter speed of about 0.5-2 seconds on a sunny day.
I usually don’t alter my photos much beyond what the camera outputs(some minor colour correction and contrast balancing), as I prefer to see what the photo is like without alterations. Still, sometimes it is interesting to try something to help show the data in a different way. So, I made a false colour photo. I took three of the above pictures and desaturated them. I then replaced the red channel with the visible spectrum photo, the green channel with the short pass photo, and the blue channel with the ‘triple-stacked’ photo. Combined, the photos look like this:
I’ll probably be posting more flower photos as I get used to my new filter. There’s also a few other new toys that I bought for the camera; I’ll hopefully post some results soon.
The above photos were taken with a modified Canon Rebel T3i camera.
